

Billie’s DIY Beauty at Home.
Cozzie livs, am I right fellow Gen Zs and Millenials?

The internet is all over the place right now when it comes to beauty advice. You’re served conflicting opinions every second TikTok, so Billie has been getting hands on with the latest and greatest in beauty in Aotearoa so you know what’s worth looking at.
This week we’re looking at how we can save a bit of cash this winter by doing some of our favourite beauty treatments ourselves at home, and have outlined difficulties so you don’t bite off more than you can chew.
The Nail Salon:
Press on nails - Difficulty: Medium

Getting gel/acrylic nails at the salon can add up over time. Press on nails are a great alternative to have beautiful nails for events/special occasions, and last typically between 3 - 7 days. If you haven’t seen Billie’s Beginner’s Guide to Press-on Nails make sure you check it out!
We LOVE Ardell’s range of press-on nails, they’re high quality, fit well and look good for days. Recently we’ve been trying and obsessing over their Eco Mani range ($21.99 at The Warehouse), with tips made of recycled plastic.
Thoroughly recommend a brush-on nail glue applicator (like this one for $11.49 from Chemist Warehouse), as the tubes will close up and be rendered useless if you don’t seal it properly.
Depend Gel iQ Gel Polish - Medium

If you wanted to work with your natural nail, why not try your own at home gel manicure? I’ve been trialing the Depend Gel iQ range ($12.99 from Farmers). While my experience is that these don’t last as long as they do when in-salon, the result is a clean quality manicure that you’ll be stoked you’ve done yourself!
The more you do these the better you’ll get, and if you aren’t going down the route of press on nails then gel nails are a great elevated alternative to traditional nail polish.
Scholl Velvet Smooth Electronic Foot File - Easy
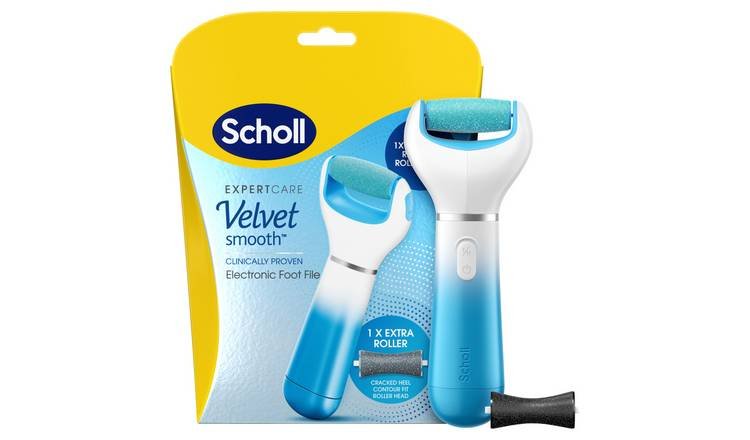
There’s something lush about heading to the nail salon for a spa pedicure, and this Foot File from Scholl ($54.99 from Chemist Warehouse) is the closest to that dolphin-soft post-pedicure feel I’ve been able to achieve at home.
The Brow/Lash Salon:
Ardell Brow Lamination Kit - Medium

Billie was sent this last year to review, and the results are impressive! Make sure that you take your time to read the instructions carefully, and you’ll have some fresh brows in no time. We also recommend using a small amount of glue at a time when gluing your brows into the position you’ll be laminating them in, and practice makes perfect!
Billie is testing the Ardell’s Brow and Lash Tint in the coming month. It is recommended to wait at least 3 days between a brow lamination and tint, but we look forward to seeing what these two kits look like together.
Get the Ardell Brow Lamination Kit for $24.69 from Chemist Warehouse.
Ardell Lashes - Difficult

I have always adored Ardell’s press on lashes. Their Demi Wispies have had a grasp on me since 2014, so I was very excited to try out their new lash extension kits.
The Naked Collection features two kits: one lasts three days and one lasts a whole two weeks. Perfect for those trying lashes for the first time and want a low-commitment option, or just if you’re looking for an affordable alternative to salon lash extensions ($29.99 from Chemist Warehouse).
We’re recommending giving the three days a go first, because if you’re not happy with the result you’re only living with it for three days (smart logic right?). Billie were sent the three day option, and they definitely lasted the full three days, with an effortlessly glam result.
The instructions say you can glue the extensions either under or over your natural lashes. I went with over my natural lashes as you would strip lashes,
Now that I’m confident with the three day option, I’m definitely keen to try the two week option! This adds a level of effortless glam each time you wake up, and is very affordable.
What I’ll caution about these is that they take patience, and ideally enough experience that you’re at least comfortable applying false strip lashes, because realistically you’re dealing with glue around your eyes.
The Hair Salon:
Olaplex No.3 Hair Perfector Treatment - Easy

Of course skincare is trendy, but when’s the last time you put a mask on your hair?
Every few appointments at the hairdresser, we throw in a hair treatment (a Kerastase Fusio dose, thanks Milly at Rodney Wayne Newmarket love u) and it means that at least two washes at home after I leave the hairdresser my hair is manageable, healthy and bouncy.
The next best thing for me is an Olaplex treatment. While an in-salon treatment may set you back $50, a bottle of Olaplex No. 3 will set you back $62 from Mecca or $61 from Sephora and will last you multiple treatments.
When I’m really wanting to look my best for something, an Olaplex treatment or two will be scheduled in the week or two prior. Simply shampoo your hair as normal, towel-dry your hair, and comb through an amount of Olaplex that’s about the size of a $2 coin (maybe a little more if you have longer or thicker hair like me), leave it for at least 10 minutes and rinse out. Dry and style your hair as usual!
Typically you’d use an Olaplex treatment in place of conditioner, but you could also use Olaplex after conditioning your hair if your hair is extra thirsty and needs it.
In our next beauty column we’re discussing beauty dupes (dupes = duplicates, so think high end/expensive luxury products vs cheaper alternatives). If you have a favourite that needs shouting out, make sure you DM us!